You can tune the parameters for specific alerts (Alert details | Tune alert). Tuning alerts helps your security operations center ( SOC) team focus on alerts that are specifically important to your organization. While you can tune alerts at any time during an incident, you may wish to wait until after an incident has been resolved and all of the relevant information has been analyzed.
Tuning alerts helps streamline the alert queue by hiding or resolving alerts automatically if certain parameters are met—leaving the security analysts time to triage and respond to priority issues.
Exam Tip
Alert tuning was previously known as alert suppression, so look out for both terms in the exam.
Alerts are tuned through the use of rule conditions. Alerts can be tuned from the Settings page (which allows you to specify alerts) as well as from the Alerts page (which allows you to work with tuning parameters for a particular alert). The steps look very much the same, so you’ll only dive into one of them.
To tune an alert from the Settings page, follow these steps:
- Navigate to the Microsoft 365 Defender portal (https://security.microsoft.com), select Settings, and then select Microsoft 365 Defender. Under Rules, select Alert tuning, as shown in Figure 9.55:
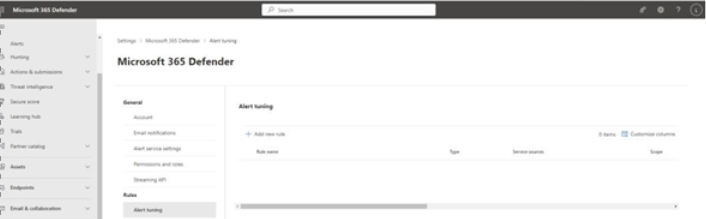
Figure 9.55 – Microsoft 365 Defender rules
- Click Add new rule.
- On the Tune alert flyout, select the service sources to which this rule will apply.
- Under IOCs, select which IOCs or conditions will cause this rule to apply. Depending on which service sources you choose, you may see different options available. In this example, the IOC is configured to be an IP address, as shown in Figure 9.56:
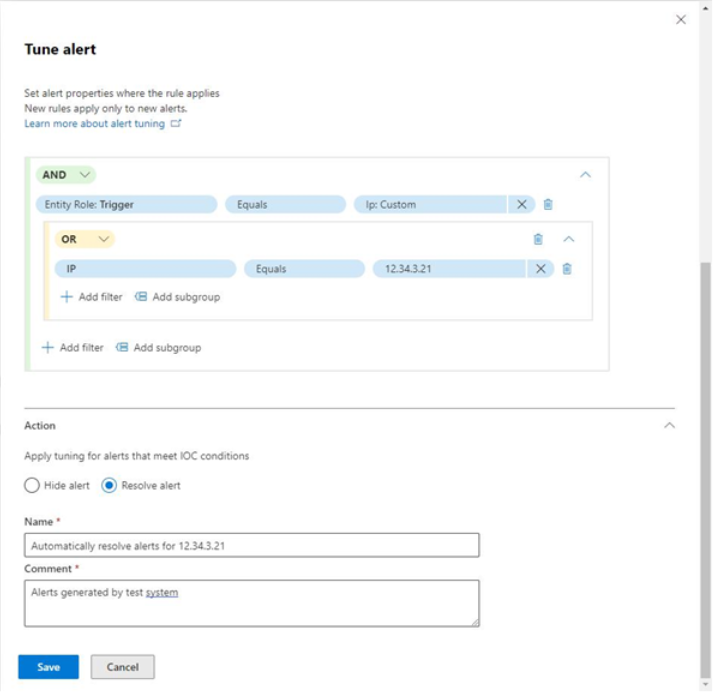
Figure 9.56 – Alert condition parameters
- Choose how to handle the alerts matching the condition (such as Hide alert or Resolve alert).
- Add a name and comment.
- Click Save to add the rule condition.
- Select the scope of the devices that will be impacted by this rule (either All organization or Device groups) and click Save.
- Click Finish.
- Alerts generated that meet this particular rule condition will now be automatically resolved (in this case). Microsoft recommends using these judiciously, as it may inhibit you from seeing threats if configured incorrectly.
You can also tune Defender by adding or updating indicators (also known as IOCs). You may determine that the presence of a particular file or accessing a particular IP address is a precursor to an exploit or threat.
- The example file shown in Figure 9.50, RS4_WINATP-Intro-Invoice.docm, was flagged as a suspicious file once the code in it was executed. In this example, you’ll create an indicator that quarantines that file as soon as it’s seen in the environment, since we know it has led to an incident already.
- To create an indicator based on the evidence in this investigation, follow these steps:
- From the Microsoft 365 Defender portal (https://security.microsoft.com), expand Incidents & alerts, select Incidents, select the incident, and then choose the Evidence and Response tab.
- Under All evidence, select Files.
- Select the RS4_WINATP-Intro-Invoice.docm file (or another file, if you are not using the same incident simulation), as shown in Figure 9.57:
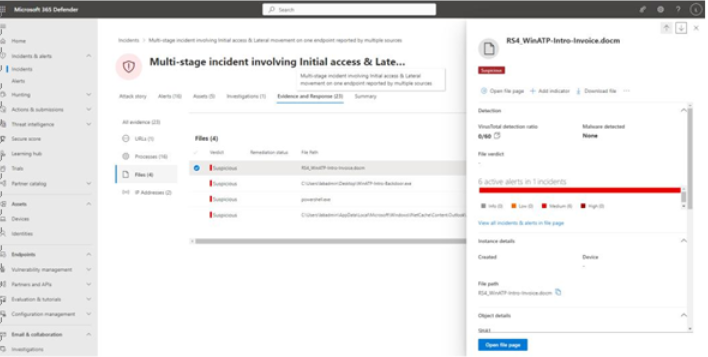
Figure 9.57 – Selecting the evidence to be used as an indicator
- On the flyout, select Add indicator.
- On the Indicator page, add a title and description for the indicator. The File hash value is automatically inserted.
- Click Next.
- On the Action page, select an action to take when the file is detected. In this example, Block and remediate was chosen, as shown in Figure 9.58:
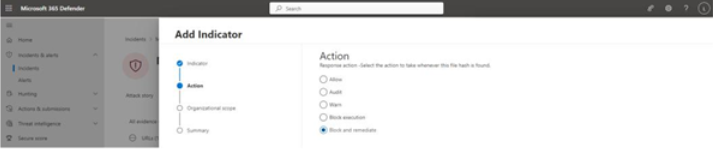
Figure 9.58 – Selecting the Block and remediate action
- Click Next.
- On the Alert details page, choose Generate alerts (if desired). Assign a severity, select a category for this indicator, and add any recommended actions. You can also choose Perform historical matching, which will look back over data collected and remediate any hosts if needed. Click Next.
- Click Next on the Organizational scope page.
- Click Submit to finish adding the indicator.
After adding the indicator, you’ll be taken back to the Evidence and Response page with the item details open. It will be updated to reflect that there is now an indicator rule created for it, as shown in Figure 9.59:

Figure 9.59 – Indicator rule has been created
Further Reading
For more information on managing indicators, see https://learn.microsoft.com/
en-us/microsoft-365/security/defender-endpoint/manage-indicators.